Here I go again, getting in touch with my crafty side…
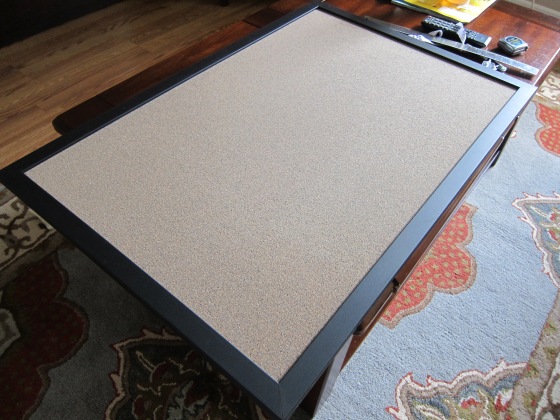
I’d purchased a cork board for our office several months ago. And it sat, wrapped in its plastic cover all those months not doing anything but collecting dust. We moved in January but haven’t gotten around to hanging too much on the walls. So, Miss Jessa, took it upon herself to hang some stuff up in her room. When we saw her “art” we knew we needed to act quickly to give her something cute to hang all her i-must-tape-this-to-my-wall masterpieces. Lemme tell you, this girls loooves some scotch tape.
 I remembered we had the corkboard but it just looked so office-like and not suitable for a preteen’s room.
 Using the colors in her room, I purchased some cute and colorful fabric and ribbon and set out to gussy this puppy up! First, I cut the fabric to cover the cork portion of the board while leaving the black frame exposed.
 My lovely assistant was close by to lend a hand. Next, I ironed the fabric to remove any creases.
 Then, I taped off the frame of the cork board, took it outside, and sprayed it with spray adhesive. You have to move pretty quickly with the adhesive or it tends to lose its stickiness. In fact, I did have to do some touch ups with the spray while applying the fabric to the cork.
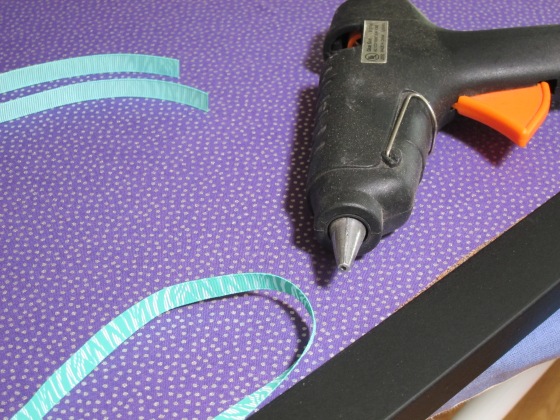
 Once the fabric was in place, I trimmed the ribbon I’d purchased to match each edge of the frame (measure on the inside of the black frame.) The ribbon was glued in place with a hot glue gun. This was to mask any crazy, not-so-straight fabric edges…well, that and it just looked cuter this way…
 And here’s the finished product…
 It took Jessa all of about five minutes to completely cover her board with treasures! So cute…and it sure beats bits of scotch tape all over the walls!
